In the winter of 2014-2015, Alice and I started talking about building a fancy bunk bed. I don't remember exactly what got us going down that path, but I knew that she was outgrowing her toddler bed, and would need a twin bed soon enough... And having a bunk would give her lots of extra room in her relatively small bedroom.
 |
| Revision 1 |
We started off by sketching up a house-based bed. Gemma was concerned about having Alice go up and down a ladder, so I added stairs... And they were going to be awesome, with a hidden passage through the bottom two treads and into the house. Alice carefully chose the colors, and then promptly decided that she actually wanted a
castle, not a
house.
There are some great examples of castle beds on the internet, but they were nearly all well too big for her room and the location of windows, heaters, etc. So we stayed with the basic layout of revision 1 (which by the way allows a toddler bed mattress under the roofed section, or a twin mattress going the longer dimension). We dropped the stairs, going back to a ladder, but a 'safe' ladder with nice big rungs.
 |
| Revision 2 |
The drawing for revision 2 is reasonably accurate to the final build, including the cutouts for the radiator passthroughs. But as I was building, I realized the height wasn't going to be enough, so I raised the platform another 18", and stretched everything out to accommodate that. This has turned out to be a very good decision. I'd originally envisioned Alice sleeping up top and playing down below, but it's turn out the opposite. So Gemma and I are routinely down underneath this bed during bedtime, linen changes, etc. We fit!
The bed is made of four sheets of 3/4" oak plywood. The back two sides of the bed rest on 2x4s anchored into the studs of the walls, with the room's walls forming the back walls of the bed.
 |
| Top platform resting on 2x4 anchors |
I cut each sheet of plywood outdoors (starting in July, so this was a well-rested project when we finally started it up), then carried each sheet up for installation. Due to some non squareness in her room, I did have to carry some sheets back out to recut, but phase 1 went together pretty quick, which was the basic bed and walls minus the ladder, crenelations, and other detailing.
 |
| End of day 1 |
On the first night, I ended up dragging her little toddler bed inside the castle so she could sleep in it. She slept there for several weeks, as various details were added. Added the heart and shadow details to the top of the castle, window sills, a ladder (my proudest part of the build), and a rails.
 |
This is my ladder. There are many like it,
but this one is mine! |
 |
| Testing the ladder |
 |
| Painting |
The ladder was a surprisingly large pain in the rear to build! I built a jig to allow me to dado one side with perfect angle and spacing. I then confidently flipped the jig over to do the other side of the ladder, only to find out that my brilliant plan was totally flawed! After the jig was flipped around still did the same angle as it did on the other side. I had to attach new guides on the back side, remove the guides on the front side, and finally I was able to route correctly. I have never felt happier to do something so simple as build this ladder. It is solid, easy to climb, is angled correctly... It's beautiful! And no one will ever care, because the bed itself is the main event when you enter the room. Don't worry, Ladder, I will always love you.
 |
| Sanding |
 |
| Every castle needs some DRAGONS! |
Finally, we're nearing completion! Lots and lots of sanding for all the details and nooks on this bed. Obviously don't want any splinters on a bed! Due to time constraints (shopping late at night) I had to head over to Home Depot and buy Behr paint. OMFG that stuff is the worst! I had to do 3-4 coats in order to get decent coverage, and it dripped like crazy. In contrast, the green I used on the ladder was left over from painting the dining room, and that was from Benjamin Moore. That stuff went on in one coat. ONE COAT. Last project I'll ever use anything else, if I can help it!
 |
| LED light string for down below |
 |
| Testing the railing |
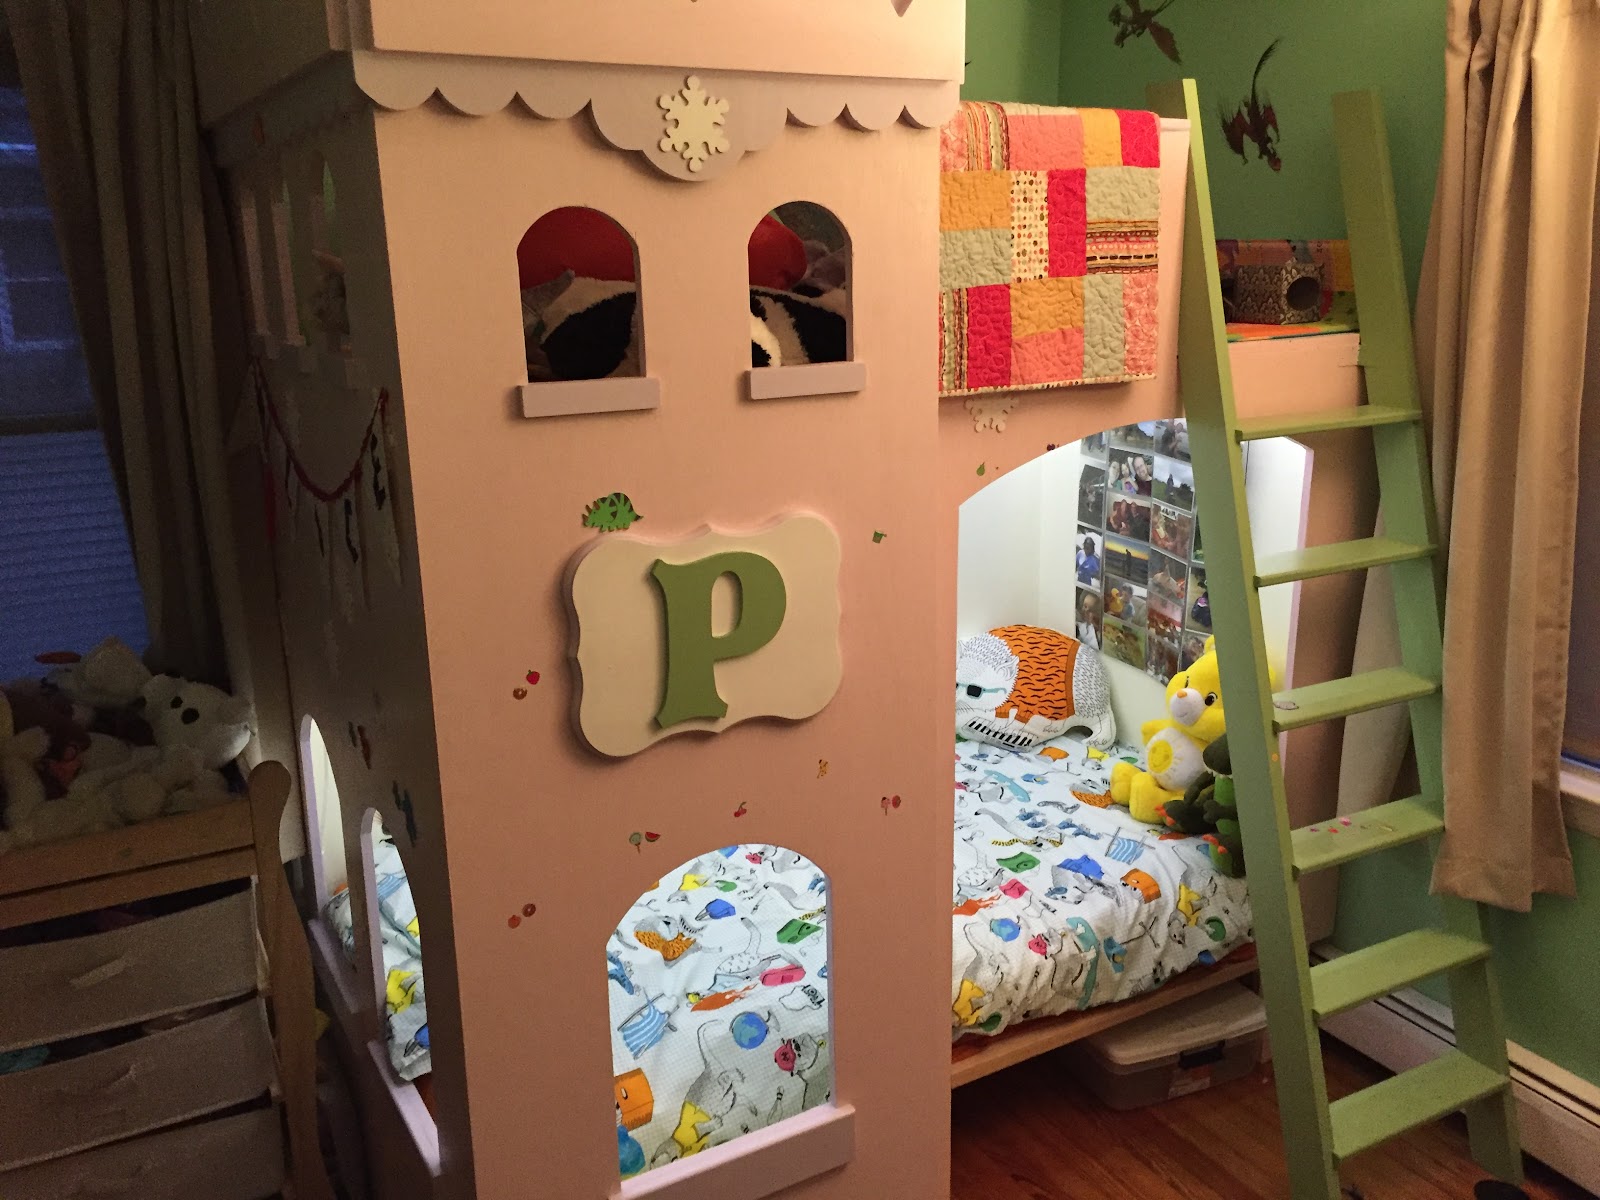
Finishing touches coming along now, as we began adding dragons. Alice was very much in love with the How to Train Your Dragon movies and TV show at the time, so we added a giant Stormfly sticker to the upper bunk, and a similarly giant Toothless sticker down below.
And finally it is complete! Alice sleeps below on her toddler mattress.
UPDATE:
Alice's feet had started to stick out the castle windows, so she's has upgraded to a twin mattress. Both exciting and sad to see our little one grow up


No comments:
Post a Comment